How and When to Shoot with Flash Gels
October 8, 2021
 One of the best parts of shooting with flash is the freedom it gives you to manipulate light when natural light isn’t available.
It allows you to control the amount of light, and even, the color of that light.
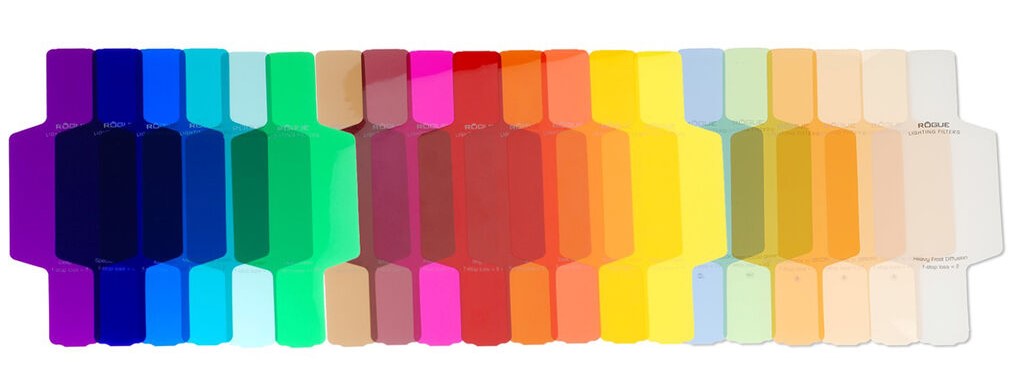
One way to adjust the tone of the light coming out of your flash is by using flash gels.
These colored gels are basically tinted transparent filters that fit over your speedlite.
They can be used for color correction and to create dramatic color effects.
Deciding how and when to use flash gels really depends on your style of photography and the type of look that you are trying to achieve.
I’ll share how flash gels fit in with my style of photography, when I choose to use them, and when I don’t.
WHY WOULD YOU WANT TO TINT YOUR FLASH?
To understand how gels affect flash, let’s go back to the basics. All light has a different color temperature.
Think about when you’re driving on a two-lane highway.
The headlights of oncoming traffic can vary pretty drastically in hue. Sometimes those lights look very yellow and other times they appear almost blue.
In photography, the temperature of light is measured using a system called Kelvin.
It ranges roughly from 1000-10,000 Kelvin, with the lower numbers being cool (Blue) toned and the higher numbers having a warm (Yellow) hue.
Flash units are all balanced for daylight Kelvin. That means they are calibrated to output light that is a color temperature of 5500, reflecting how natural midday light would look.
If you like beautiful, bright, realistic looking photos then a perfectly balanced flash gun is your best friend.
However, there are certain circumstances when shooting with a balanced flash can present some challenges.
WHEN USING A FLASH GEL MIGHT BE HELPFUL
Let’s say you’re shooting indoors in a venue with tungsten lighting. That lighting is going to look very yellow.
If you use your flash in a setting like this, then anything that the light of your flash doesn’t touch is going to have a yellow undertone.
This could present a problem because in one photo you could have two different colors of light- the color your flash puts out and the overall color of the ambient light.
Then when you go to edit them, you have to deal with split tones in your images.
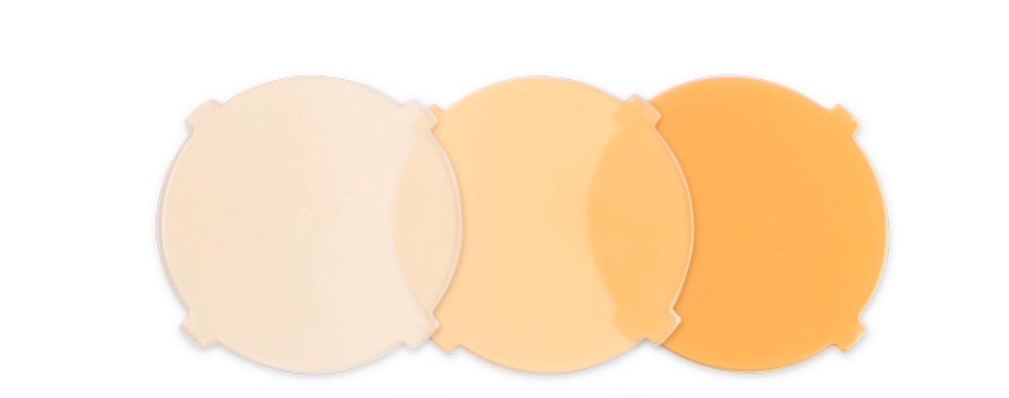
In this instance, you could use a flash gel, maybe a yellow or orange one, to match the color of the lighting in the room.
This way your editing process would be much simpler since you’d just have to adjust the one yellow tone.
If all this discussion of yellow and blue tones is confusing, grab this free guide to help you master white balance!
How to Finally Master White Balance
WHY I DON’T NORMALLY USE FLASH GELS
With all of that being said, this is not a regular part of my flash gear.
Why?
Because in a normal setting for me, in a wedding venue or a barn, I’m not working with glaring, bright colored lights that are going to present enough of an issue for me to want to change the color of my flash.
I like the bright, white, clean light that the speedlight emits. It gives me clean skin tones, bright whites and consistent images that I love.
Also, when I’m shooting in a venue with string lights or candlelight, I want to pick up the glow of the ambient light and see the distinction and the overall feel of the venue.
I don’t want to blend my light and desaturate that ambient glow.
So, will there be a time when I use flash gels more and promote them for more general shooting?
Possibly, but for now, there is only one real situation when I would make use of them. Read on to find out what it is!
THE ONE TIME I USE THEM
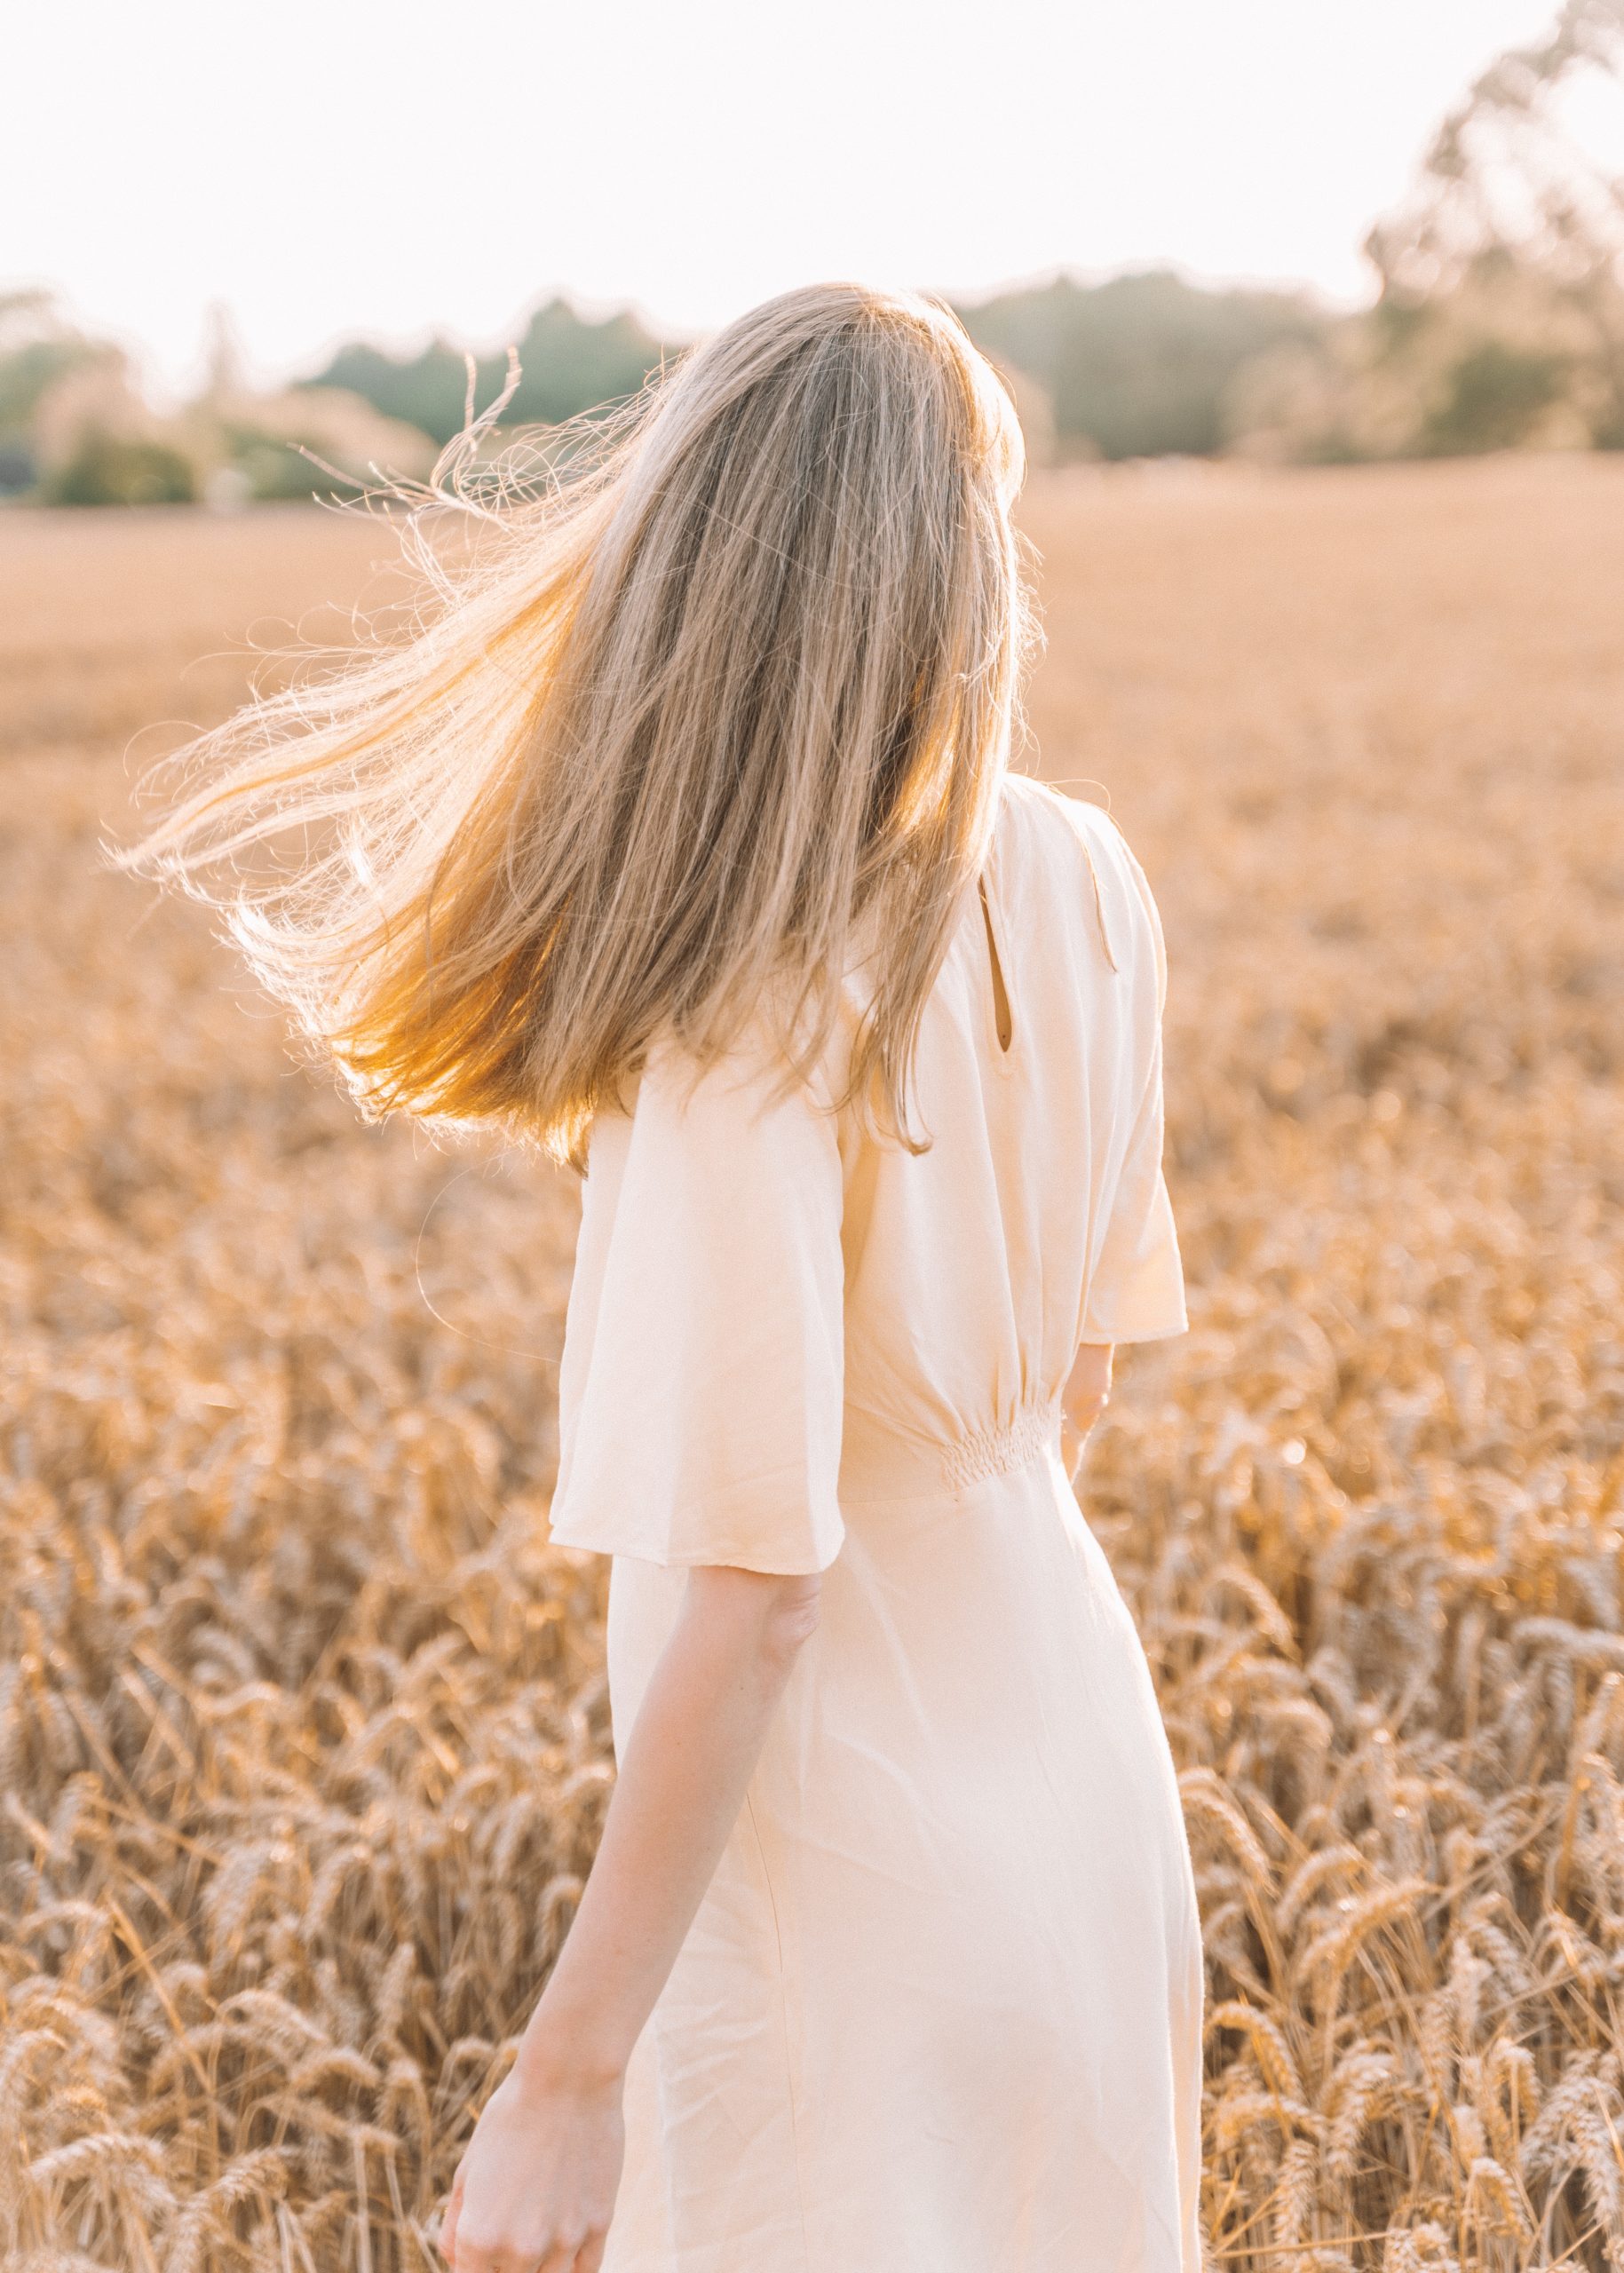
Let me just preface this by saying that I haven’t mastered this or used it abundantly, I’m still learning and experimenting, but this is a helpful tip so I want to share!
The one time I would encourage you to shoot with gels is in an outdoor setting on a gloomy day.
Say what? Using flash outdoors??? But Chian, I thought you say you never use flash outside??? *Claps hands over mouth.*
I know, I know.
Normally, I never shoot with flash outdoors. That is because I love natural light and the glow that our wonderful sun gives us.
However, when it is gloomy and grey, with heavy clouds and threatening rain, but you have a session scheduled and are missing the warm glow and dimension of the sun, this is a great alternative.
Why?
When you put a warming filter on your flash and place it at a 45 degree angle behind your subject and juuuuust out of the frame, that burst of light can emulate the glow of the sun by backlighting your subject and giving them that layer of separation from the background, a little extra glow and a warmer tone to the image.
If you are a little doubtful, next time you have a session on a cloudy day- give it a shot! It’s a great way to offset the heaviness of the gloom!
ARE GELS A NECESSITY IN FLASH PHOTOGRAPHY?
Personally, I don’t think that using flash gels are an element of flash that you need to use all the time.
If you’re just starting out with flash and the idea of using them feels overwhelming, don’t worry about it!
Take your time and get comfortable shooting with a basic setup before adding in anything else.
If you know your way around flash and are looking for a way to add some unique effects to your photos, then you may really enjoy experimenting with them!
As a natural light photographer, using them for dramatic effects doesn’t really fit in with my style. But, if you’re interested in learning more about how to do that, here’s an article you might find helpful.
How to Use Colored Gels for Creative for Creative Off-Camera Flash Photography
If you have any questions about flash gels, please feel free to ask it below! And if you’re a photographer that uses them often, I would love to know how you integrate them into your style of photography. Leave me a comment below!
