Manual Mode VS. Auto Modes- What’s the difference?
December 30, 2020
What Is The Difference Between Manual Mode and Auto Modes On A DLSR?
For many of us, getting a DSLR is a big step.
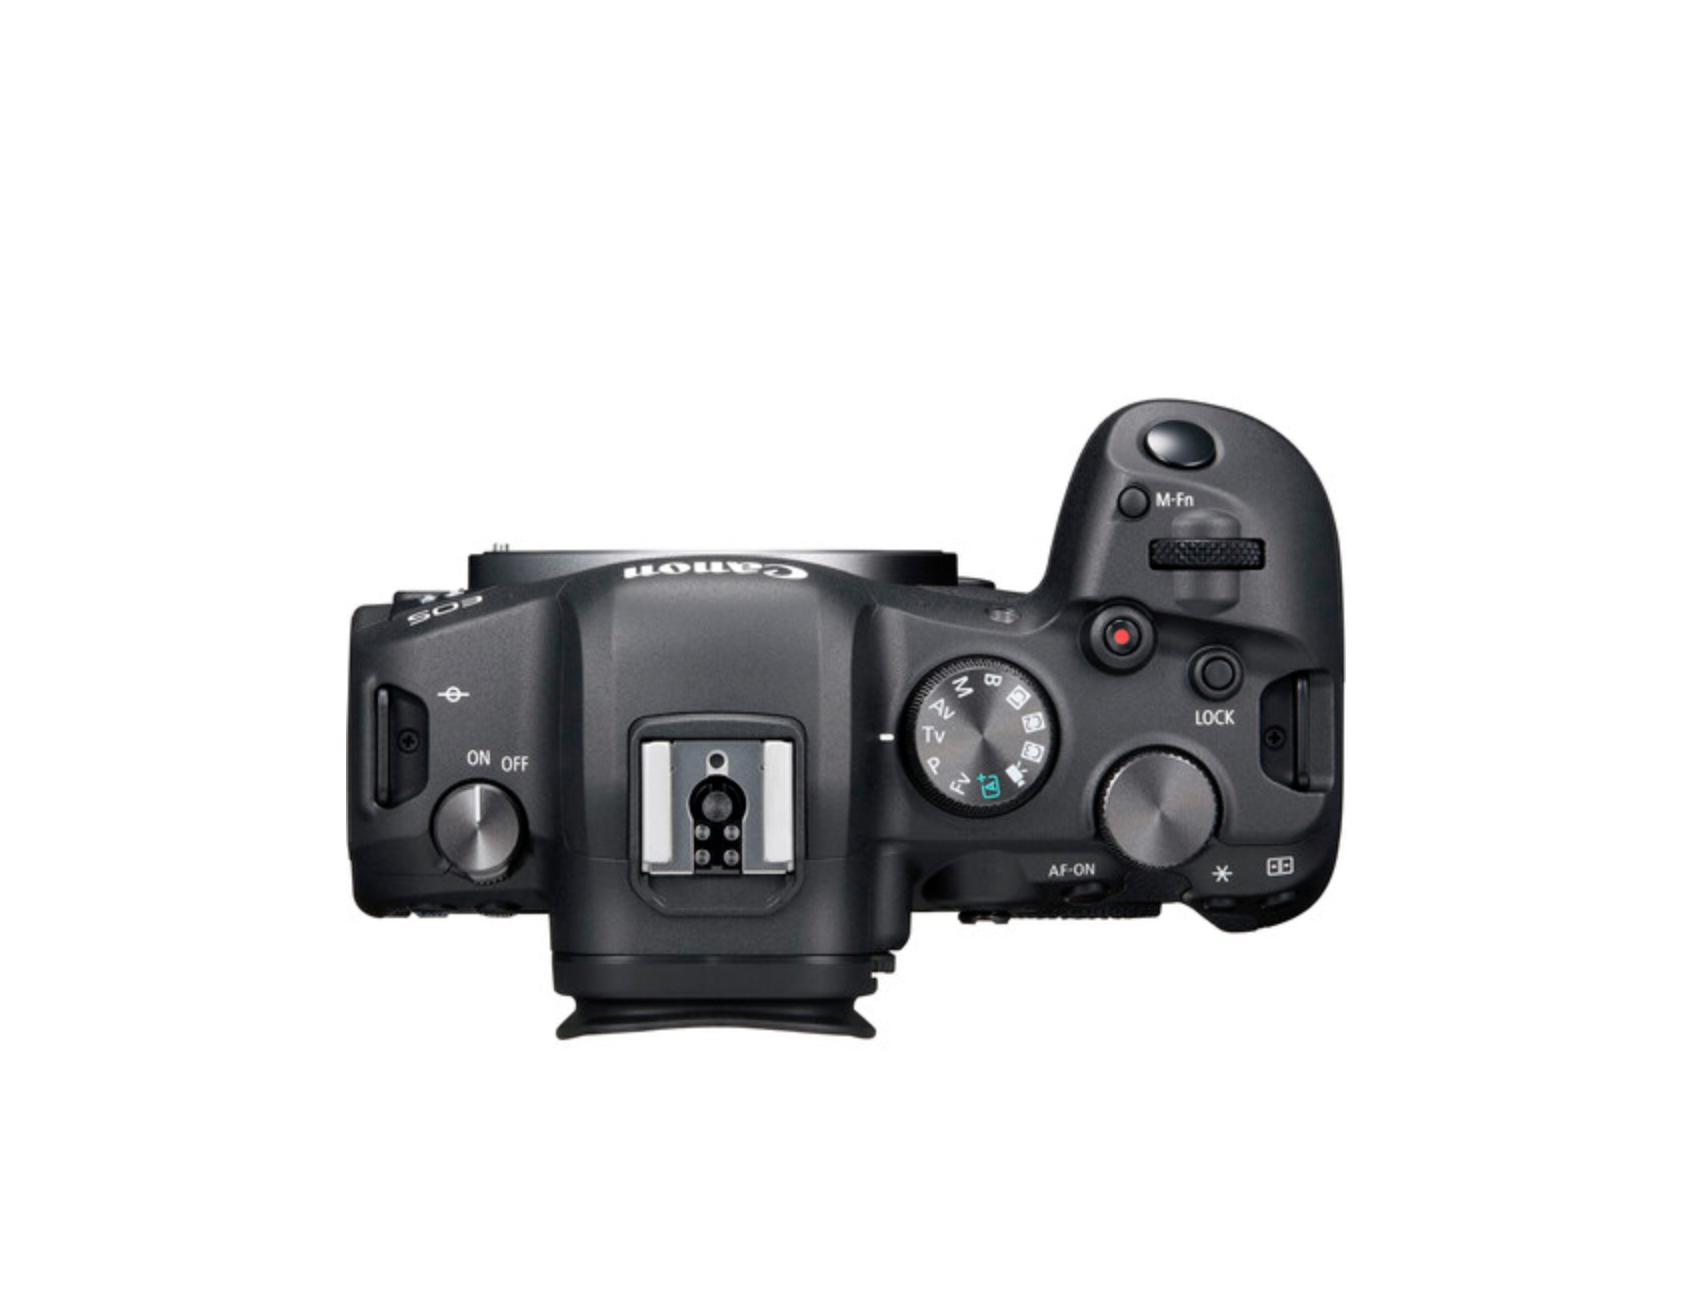
It may be the first time you’ve seen the mysterious “M” on the selection dial of you camera.
You’ve heard of that before, and you hear everyone say to “Just use manual,” but what does that really mean?
Then you see AV, TV, P on that dial, and even more options on the back of your camera, it can be overwhelming.
They all seem so. confusing.
You have no idea what to do first, or what each mode even does, so it makes it scary to even try to start.
When you randomly pick a mode and take a picture, you may love or hate the image that it gives you, but either way, there is a problem…
You don’t know exactly what your camera just did to get that image.
That means that if you love it, you don’t know how to replicate it, but if you hate it, you don’t know how to fix it.
To remedy that, many professional photographers will just tell you to use manual mode. I have said that myself. However, what is manual mode, and why is it better than TV, P, or AV?
That’s what I want to break down today, in real language and without all the technical terms that confuse us!
Ready? Here we go!
To start with, there are three things in any given camera that affect how light or how dark the image is. Those three things are
Aperture
ISO
Shutter Speed
Break It Down
Aperture – Affects: How much light enters the camera, and how blurry the background is.
ISO – Affects: How much light your camera senses, and how bright the image is.
Shutter Speed – Affects: How much light enters the camera and if a subject is frozen in motion or if there is motion blur.
As you can see, each of these things affects -how much light enters the camera- (the exposure) and one additional thing about the image.
So, when you get your first DLSR and you see all of the different modes on them, all of those modes control the three things listed above, just in different ways.
For Example
“AV” (Canon) or “A” (Nikon). This stands for Aperture Priority. This means that the camera is giving you one choice, and one choice only.
It is allowing you to decide how blurry you want the background of the image to be.
That is the only thing that you can adjust in Aperture Priority.
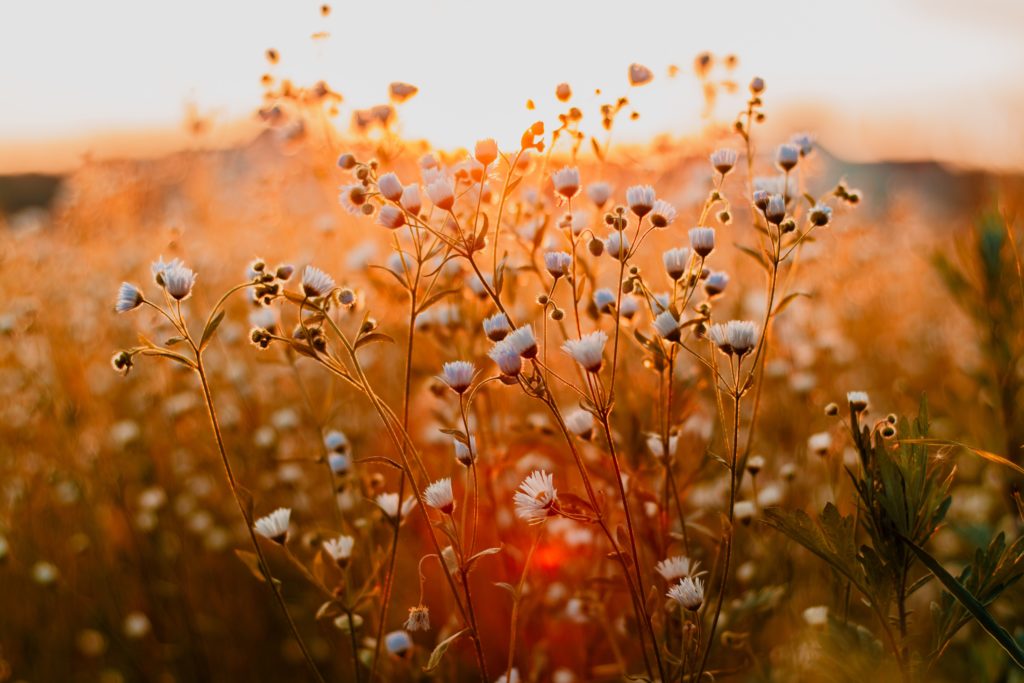
 Shallow Depth Of Field/Low Aperture such as 2.0/Blurry Background
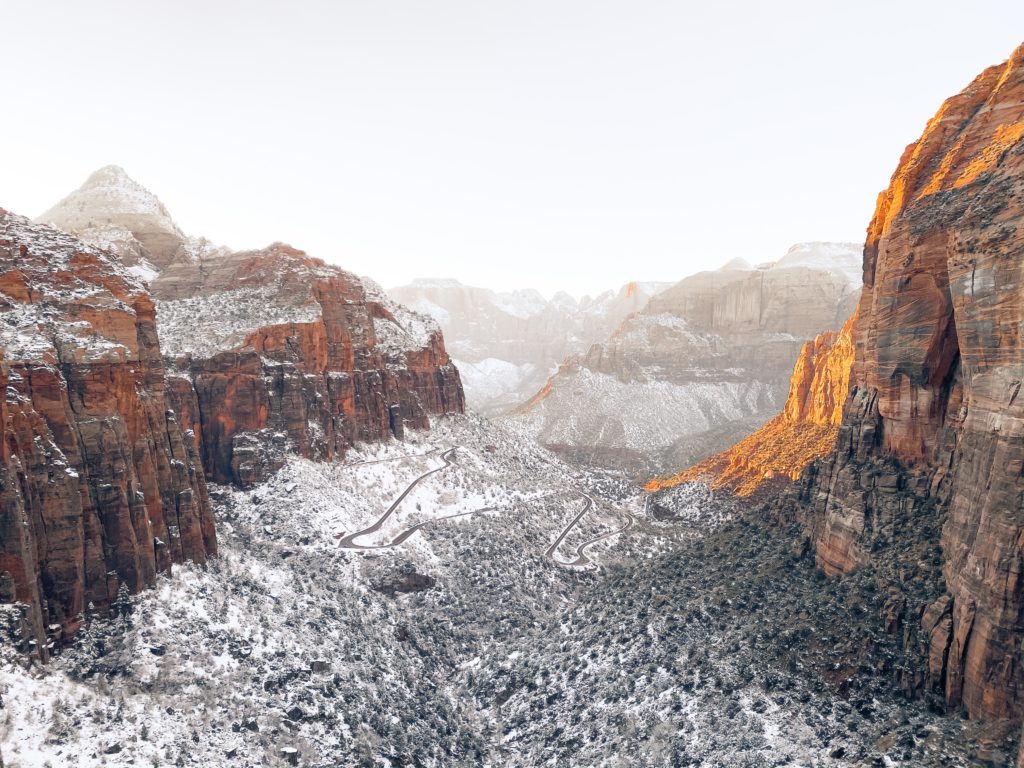
 Deep Depth Of Field/High Aperture such as F22/ Everything In Focus
Then, given what you set your aperture at, the camera will then decide for itself what to set the ISO at, and what to set the shutter speed at. It does this, deciding how bright to make the image all on its own. You don’t get a say in the matter.
That’s why, when you take a picture in this mode, you may not be happy with it.
The only thing that you can adjust is the aperture- how blurry the background is.
You can’t really adjust how bright the image is, or how fast you want the shutter to be, because the camera is going to be making all of those decisions for you.
Pros: A fairly easy mode to use since you only have to decide one thing.
Reasonably easy to get an artistic image with a blurred background.
Lets you get started taking pictures without having to know everything.
Cons: You cannot control how bright the image is.
If you like the image that you took, you don’t know how to replicate it.
If you are unhappy with the image, you don’t know how to fix it.
The camera is making the main decisions for you.
What About The Other Modes?
“TV” (Canon) or “S” (Nikon) This stands for Shutter priority.
Now, the camera is still giving you just one choice, but it’s a different choice.
You can now decide how fast you want the shutter speed to be.
This is deciding how much light enters the lens and how much motion blur will be in your image.
 Fast Shutter speed such as 1/3000 of a second/Freezes motion
 Slow shutter speed such as 1/100 of a second/ Shows Motion Blur
When you decide your shutter speed, the camera is then going to take that into account and it will automatically change the ISO and Aperture to give you the exposure that it thinks you want.
That means that you have no control over how bright the image is or how blurry the background is, you only get to decide how long the shutter is open for.
Pros: A fairly easy mode to use since you only have to decide one thing.
Reasonably easy to get aa decent quality image with frozen motion or motion blur.
Lets you get started taking pictures without having to know everything.
Cons: You cannot control how bright the image is.
If you like the image that you took, you don’t know how to replicate it.
If you are unhappy with the image, you don’t know how to fix it.
The camera is making the main decisions for you.
Program mode:
This one is pretty similar to regular old auto when there the camera is making ALL of the decisions for you, but with a few tweaks: in Program mode, the camera chooses the most important settings for you — shutter speed and aperture — but gives you the choice of overriding any of the other defaults.
This mode has the same pros and cons as above.
You can get out there and snap the shutter button and take a picture, but you are still at the mercy of your camera to give you an image that it thinks you like.
The problem is obvious, but just to make sure, let’s illustrate it: Do you have a best friend that you just love to death, and everything about them as a person is bar-none, but you really just can’t get behind their sense of style.
The way they dress and do their makeup just drives you insane.
Well, the same is true here.
Just because your camera is letting you take pictures and seems like you’re getting along just fine, that doesn’t mean that the style and color of the image are going to be what you want or fit your style.
In all of the Auto modes on your camera, you may be able to change ONE setting, but when you do, the camera automatically changes all of the other settings to make up for it.
This essentially leaves you stranded with the same look in all of your images and the same frustrations all. of. the. time.
If you want to make an image lighter and brighter, let’s say that you increase the size of your aperture. The camera will sense that and it will then change all of the other settings to offset the adjustment that you just made, so that you end up with the SAME exposure for the image that you just took!
All auto modes essentially handcuff you in the sense that they restrict your range of movement within the realm of making decisions.
Enter: Manual Mode
This is where you will see the benefits of switching to Manual mode.
Once you know what those three elements affect: Aperture, ISO, and Shutter Speed, it becomes a bit easier to know how to select the settings on your camera and adjust them where you want them.
On Manual mode, you are able to change each and every setting independently.
You can set your aperture, ISO, and Shutter speed exactly where you want them, without the camera changing anything.
While this does take a bit of trial and error, along with a healthy dose of practice, it is well worth the effort.
Being able to decide what you want to set your camera at, carry out those decisions, and get a resulting image that you are inordinately pleased with is an amazing feeling!

Don’t let Manual mode scare you!
It is not necessary to learn the theory of photography since the beginning of time or learn exactly how the camera is making each of its decisions.
You do not have to have a masters degree in photography to learn how to take pictures using manual mode.
You merely have to have the desire to take better pictures, and the determination to have a few bad images in the journey to getting better ones.
I promise you, once you learn to use manual mode, you will never go back!
You experience a sense of freedom and liberation as a photographer that is exhilarating!
Whether you are taking pictures of your precious new baby, your beloved fur babies, or capturing memories for friends and family, learning how to use manual mode will open up your world!
SUMMARY
Using Auto, AV, TV, P or any other “Auto” mode offers the same advantages and the same struggles. You can take a picture with them but may be faced with images that you are not happy with.
Each auto mode may allow you to change one thing, but you are not fully in control. When you change one thing, the camera changes the rest to offset the change that you just made.
In manual mode, you are fully in control.
You make all of the decisions and set each setting on your camera where you want it.
You are then able to practice and see what each setting does, without the camera changing anything on you.
Using manual mode takes the mystery out of taking pictures because it helps you to see when you change one thing, how that affects your image.
You can take a picture, change your aperture, take another picture, and then compare the difference between the two to see what changed.
As you practice and become familiar with manual mode, your confidence, and your skill with your camera will prove until you are taking pictures that you are proud to show off to your family and friends!
If you want to learn more about using your camera in manual mode, be sure to stay tuned for the next series in the blog that deals with how to get started in Manual mode.
Be sure to follow along on Facebook and Instagram @chianoconnorphotogrpahy for free popup trainings and interviews, as well!
If you have a question, or there is something that you would like to see featured on the blog, be sure to leave a comment and let me know! I am developing content based on your feedback, so if there is something that would benefit you, I would love to hear about it!
